
What Is Screen Printing? A Beginner’s Guide to Printing Technique
Screen printing is a popular printing method used to transfer ink onto materials like fabric, paper, and metal through a mesh screen. It works by creating a stencil on a fine mesh screen and pushing ink through the open areas to print a design on the surface below. This technique is known for producing vibrant, durable prints with sharp details and is widely used for t-shirts, posters, and other custom products.
This process allows for multiple layers of ink to be applied, making it great for multi-colored designs. It uses special inks that can be heat-set to ensure long-lasting, wash-resistant results. While it requires some tools and practice, screen printing offers a flexible way to create high-quality, personalized prints.
Whether used at home or by professionals, screen printing combines art and technique. It is cost-effective for large orders and allows for creative control over colors and textures, making it an enduring favorite for custom printing needs.
Table of Contents
Key Takeaways
- Screen printing uses a stencil and mesh screen to apply ink onto various surfaces.
- The technique produces bright and durable prints suitable for many materials.
- It is ideal for creating multi-color designs and works well for large print runs.
What Is Screen Printing?
Screen printing is a method used to create designs by pushing ink through a mesh. It uses stencils to block certain areas, allowing ink to pass only where the design is needed. This technique is known for producing sharp, vibrant images on various materials.
It has a long history and a specific process that involves preparing the screen, applying ink, and curing the print. Its popularity comes from its ability to make detailed and durable prints on many surfaces.
Definition and Overview
Screen printing is a printing technique where ink is pressed through a fine mesh screen onto a surface. Parts of the screen are blocked by a stencil, so ink only passes through the open areas to form the design.
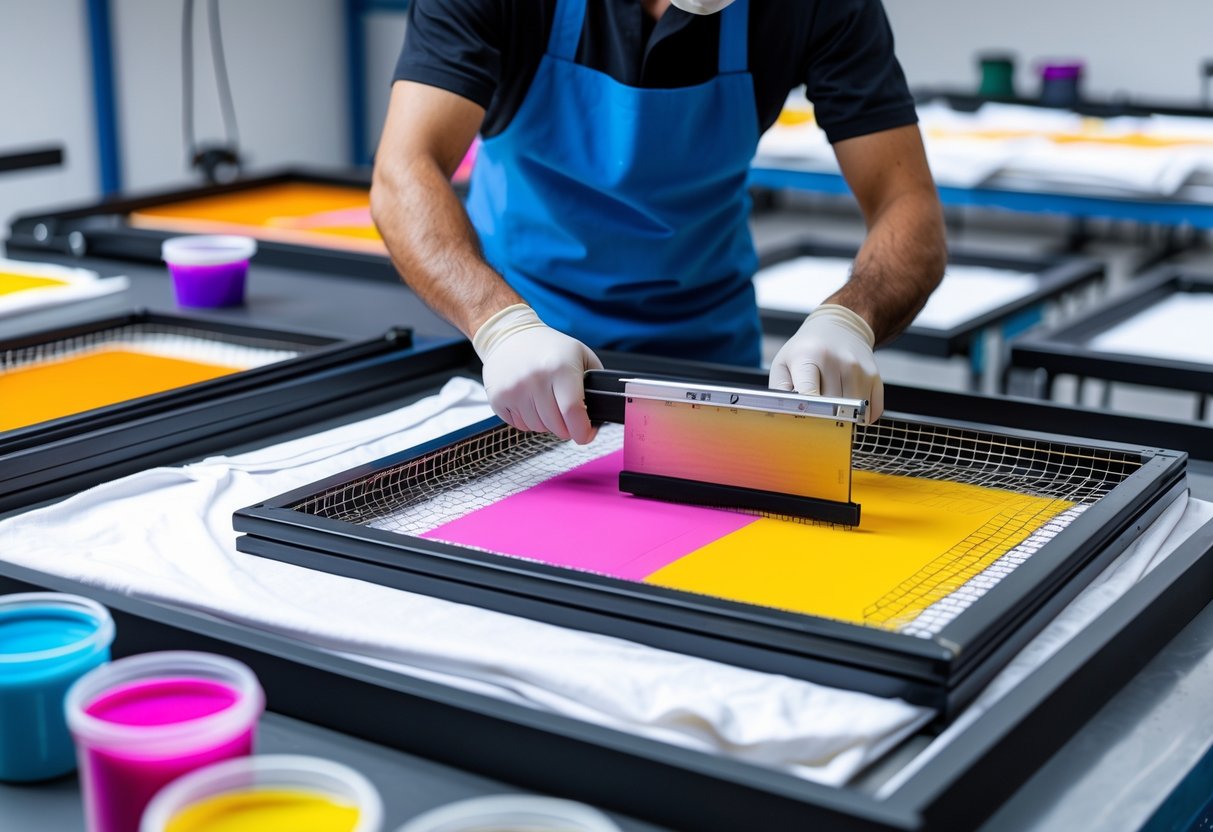
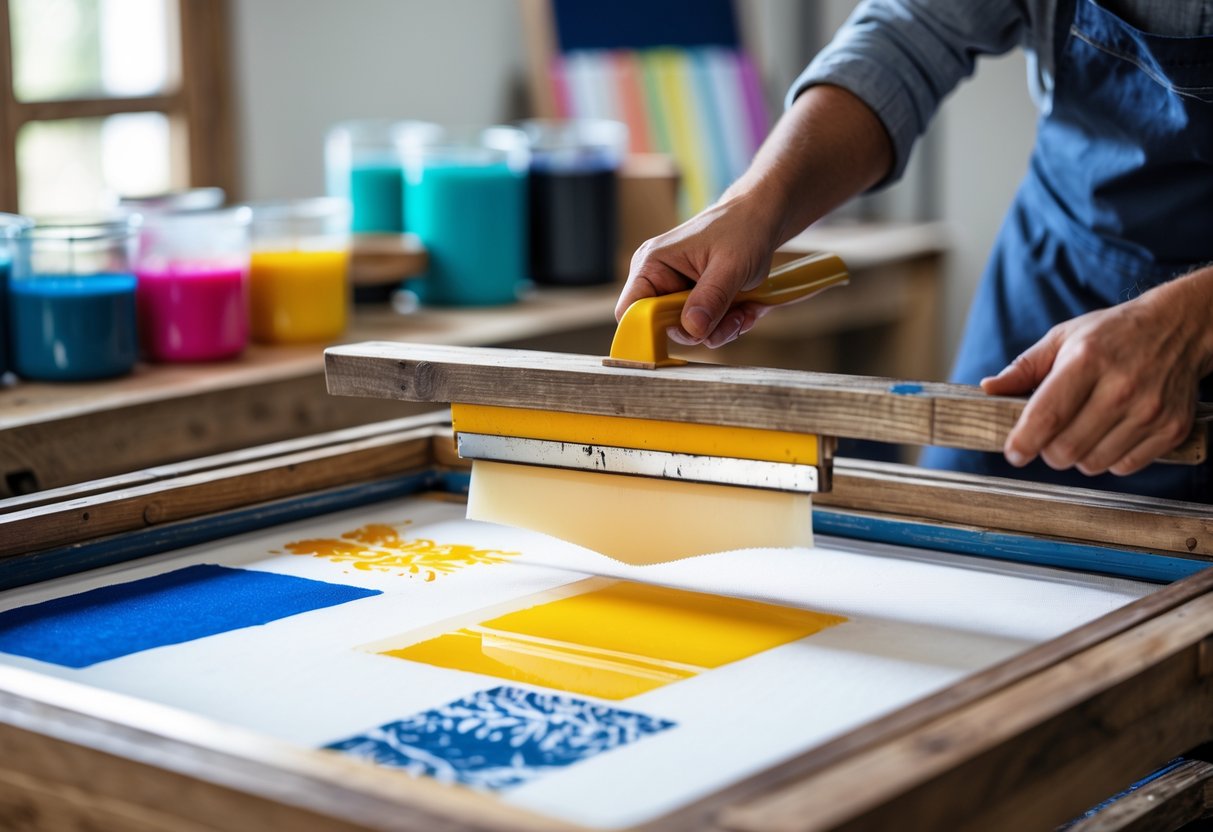
The mesh screen is usually made of synthetic materials like polyester. The stencil can be created using light-sensitive emulsions or by hand. Ink is spread over the screen using a squeegee, pushing it into the open stencil areas.
This process can be applied to fabrics, paper, wood, glass, and plastic. It produces vibrant colors and thick ink layers, giving prints a unique texture and strong durability.
History
Screen printing dates back over a thousand years, with early roots in ancient China and Japan. It was originally used to decorate fabrics and later spread to other cultures.
The modern screen printing technique developed in the early 20th century. The use of light-sensitive materials replaced older manual methods, allowing finer details and faster production.
Screen printing became popular in commercial art and textiles mid-century. Today, it remains widely used for custom apparel, signs, labels, and many other products.
How It Works?
The process starts with creating a stencil of the design on a mesh screen. A light-sensitive emulsion covers the screen, which is then exposed to UV light with the design placed on top. The light hardens the emulsion except where the design blocks it.
Next, the unhardened emulsion is washed away, revealing open areas for ink to pass through. The prepared screen is placed over the item to be printed.
Ink is applied at the top of the screen, then pulled down with a squeegee to press the ink through the stencil. For multi-color designs, separate screens and stencils are used for each color.
Finally, prints are dried or heat-cured to set the ink. The screen can be cleaned and reused for new designs. This allows for consistent, high-quality prints, especially in large runs.
Key Components
Screen printing relies on several essential parts that work together to produce quality prints. These elements include the fabric or surface mesh, the different types of inks and coatings used, and the tools that apply and control the ink. Understanding each component helps users achieve clear, detailed, and durable results.
Screens and Mesh
Screens are frames tightly stretched with mesh fabric. The mesh’s thread count (mesh count) controls how much ink passes through. A higher mesh count, like 110 or above, is used for fine details and thin ink layers. Lower counts allow more ink flow and suit bold designs or thicker prints.
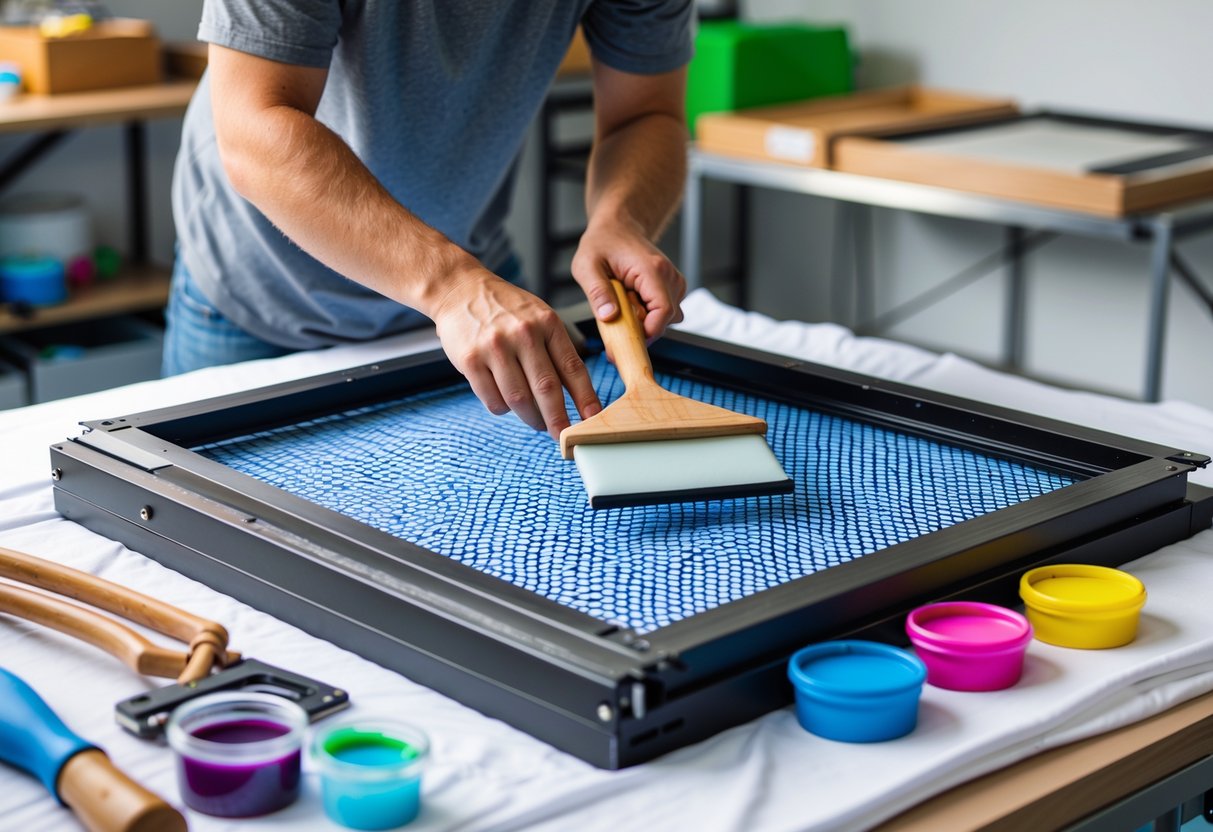
Modern screens use polyester mesh for strength and consistent tension. The screen must be coated evenly with emulsion to create sharp stencils. Proper tension and mesh choice prevent ink bleeding or smudging, ensuring clean prints. Screens also vary in size, depending on the project scale.
Inks and Emulsions
Inks vary by type and purpose. Water-based inks are soft and eco-friendly, ideal for cotton fabrics. Plastisol inks hold up better on synthetic materials like polyester and provide vivid colors with durability. Choosing the right ink depends on the material and finish desired.
Emulsion is a light-sensitive liquid applied to screens. It hardens when exposed to UV light, forming a stencil by blocking ink in certain areas. The emulsion layer must be smooth and even to avoid flaws. Proper exposure time is critical—too much or too little can ruin the stencil’s detail or cause ink leakage.
Squeegees and Tools
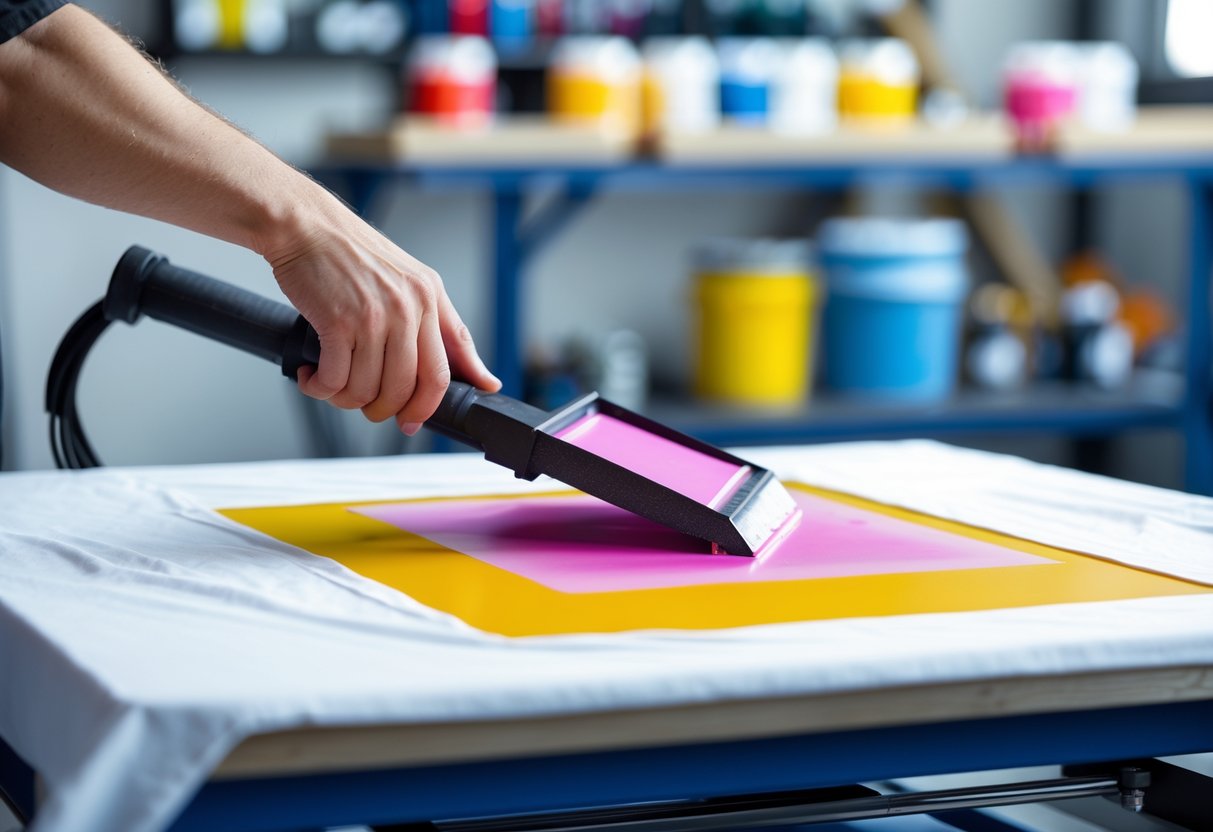
The squeegee is used to push ink through the mesh onto the printing surface. It has a rubber blade with a durometer rating, often around 70 for general use. The durometer indicates blade firmness, affecting how evenly ink spreads.
Using consistent pressure and angle is vital to avoid uneven prints. Other tools include flood bars, which keep the screen inked between prints, and exposure units for curing emulsions. Proper maintenance and use of these tools improve print accuracy and speed.
Techniques
Screen printing uses different methods depending on the design complexity, volume, and desired finish. Choosing the right technique impacts the quality, cost, and time of production. The processes vary from fully hands-on to machine-driven, and from simple colors to complex, detailed images.
Manual vs. Automatic Methods
Manual screen printing is done by hand, using a squeegee to push ink through a screen onto the fabric. It requires skill and precision but is ideal for small orders and custom projects. Manual printing allows for more control over each print but takes longer and may have slight variations.
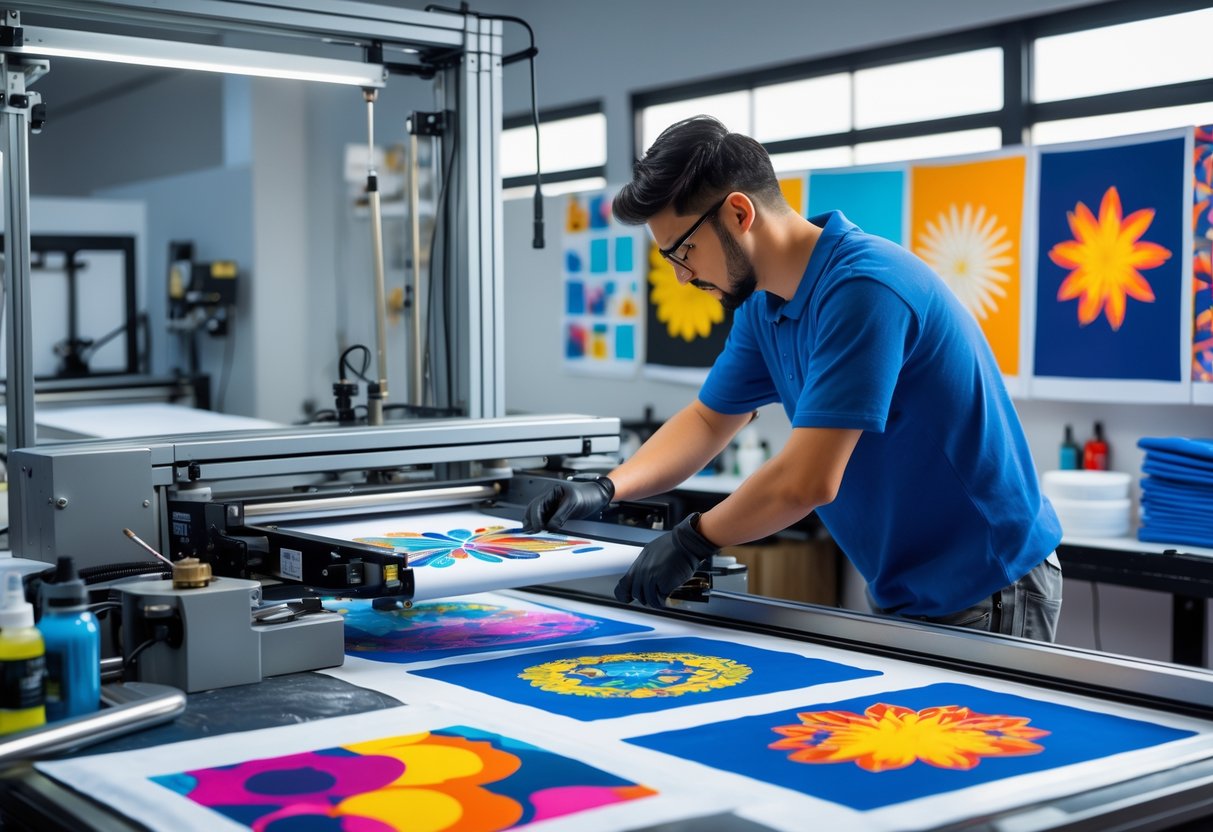
Automatic screen printing uses machines that handle the entire process faster and more consistently. It is best for large runs where uniformity is essential. Machines can print multiple colors by moving screens automatically. While setup costs are higher, automatic printing reduces labor time and increases output.
Spot Color Printing
Spot color printing uses solid, single colors applied one at a time with separate screens for each color. This technique produces bold, vibrant designs with sharp edges. It works best for graphics with limited colors, such as logos or text.
Because each color requires its own screen, spot color printing is more cost-effective for smaller, simpler designs. It delivers great opacity, especially on dark fabrics. Designers often use spot colors to keep prints clean and clear without blending or gradients.
Simulated Process Printing
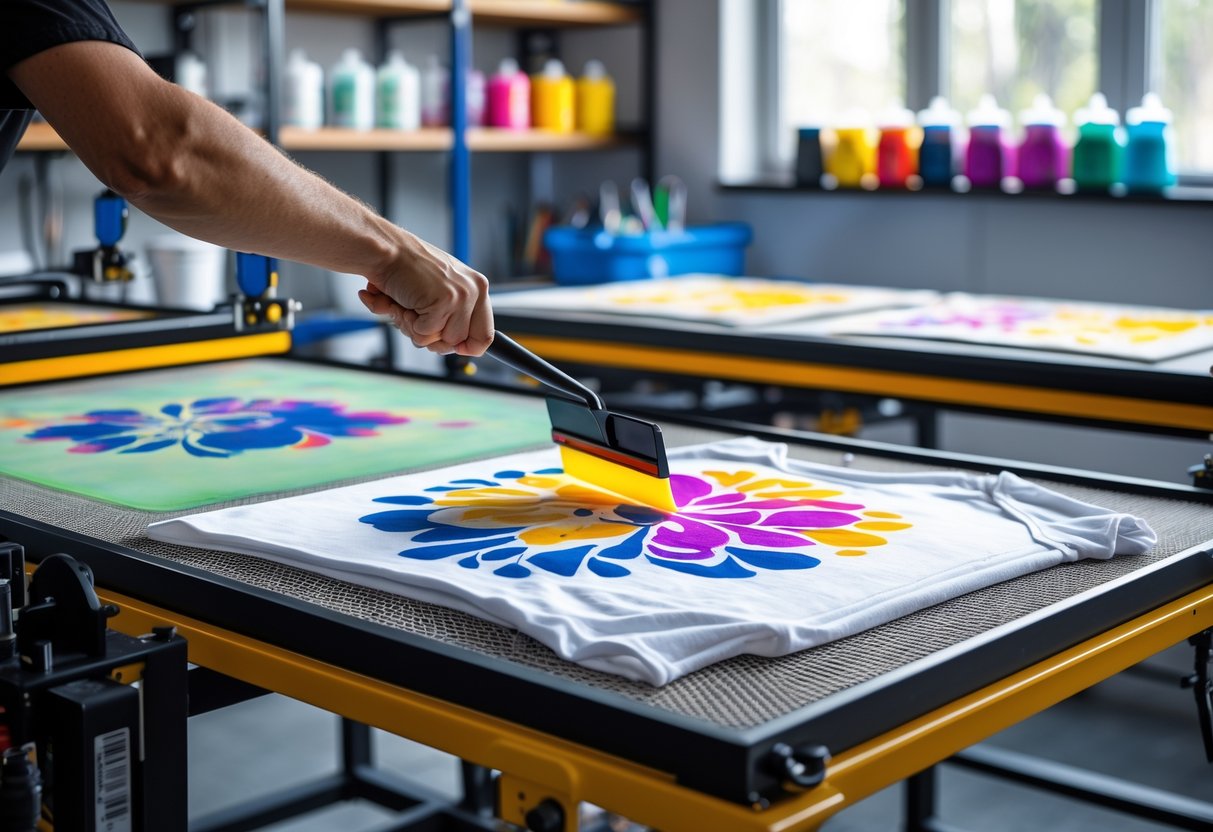
Simulated process printing mimics full-color images by layering specially mixed opaque inks. It can reproduce complex designs with many colors, like photographs or detailed artwork.
Unlike traditional four-color printing, simulated process uses inks that stay vibrant on dark or colored fabrics. This technique blends colors through layers, giving the print a rich, bright look. It requires more screens and longer setup but allows detailed designs that would be impossible with spot color alone.
A Step-By-Step Process
The screen printing process involves preparing a design, transferring it onto a screen, and then printing it onto a surface. Each step must be done carefully to ensure clear, durable prints. Precision in setting up the design and handling the screen affects the final result.
Design Preparation
The process begins with creating the design digitally using graphic software. The artwork is printed onto a transparent film called a transparency. This film needs to have solid, dark areas where ink will pass through the screen.
Next, the transparency is positioned on an emulsion-coated screen. The emulsion is light-sensitive and has been applied evenly to the screen beforehand. Careful alignment is critical because the design must match the print area on the material.
Tape holds the transparency firmly on the screen to keep the design from shifting during light exposure. This step ensures that the stencil’s details are clear and precise for printing.
Screen Exposure
Once the screen is prepared, it undergoes exposure to ultraviolet (UV) light. The transparency blocks light where the design is printed, leaving those areas soft.
The UV light hardens the emulsion on the exposed parts. The hardening forms a stencil on the screen, which controls where ink will pass through. Exposure time varies based on the type of emulsion and light source but typically lasts from a few minutes to around an hour.
After exposure, the screen is washed with water to remove unexposed emulsion. This reveals the open areas for ink in the shape of the design. It is important to rinse gently yet thoroughly to avoid damaging the stencil.
Printing and Curing
To print, the screen is placed above the material, such as fabric or paper. Ink is poured onto the screen and spread evenly using a squeegee. The squeegee presses ink through the open stencil areas onto the surface below.
Multiple color layers require separate screens and careful registration to align the images precisely. After printing, the ink must be cured to become durable and permanent.
Curing is done by heating the printed material. Curing methods include conveyor dryers for large batches or heat guns for smaller runs. Correct temperature and time are essential to avoid smudging and ensure lasting prints.
Applications of Printing
Screen printing is used in many fields due to its durability, color vibrancy, and cost efficiency for large runs. It works well on a variety of materials and allows for precise, bold designs. The method suits different industries with specific needs for printed products.
Textile Printing
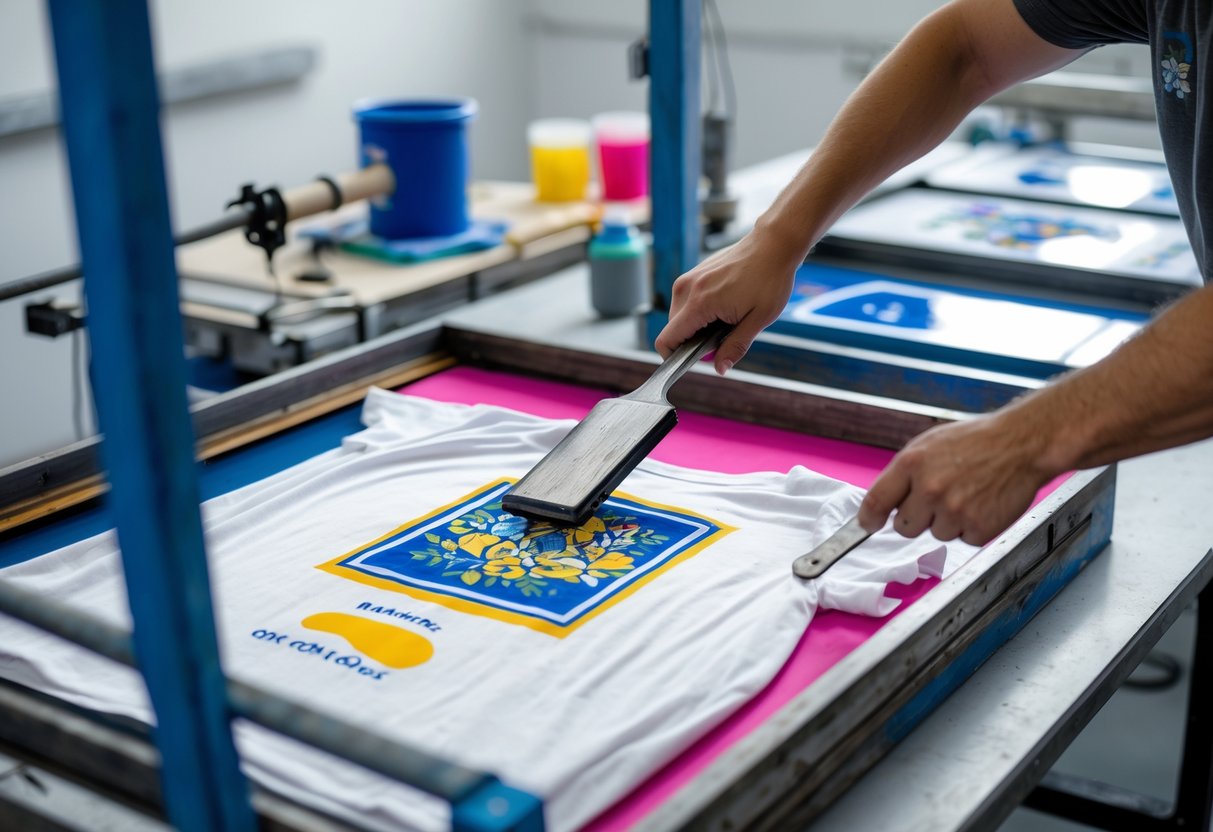
Screen printing is widely used in textile printing, especially for apparel like t-shirts, hoodies, and sportswear. It produces vibrant, long-lasting colors that hold up well after many washes. This makes it a preferred choice for printing team logos, brand names, and custom designs on fabrics.
The process works on natural and synthetic fabrics. It can print detailed and simple designs on cotton, polyester, and blends. Manufacturers often choose screen printing for bulk orders because it is cost-effective and fast. In addition to clothing, screen printing is used for creating patterns on fabric rolls for fashion and home decor.
Poster and Art Prints
Artists and designers frequently use screen printing to create high-quality posters and fine art prints. The method allows them to apply sharp lines and vivid colors, ensuring each print is consistent.
Screen printing is ideal for limited editions. It can handle different inks and textures, giving prints a unique feel. Concert posters, gallery art, and promotional prints often rely on this technique for its rich color depth and durability on paper and other flat surfaces.
Product and Industrial Uses
Screen printing is not limited to textiles and art. It also extends to product packaging, promotional items, and industrial labels.
This printing method is used on glass jars, bottles, electronic components, and plastic items. It can print logos, instructions, and decorative patterns. In industry, screen printing prints conductive inks on circuit boards and marks keys or buttons. It is favored for its precision and strong adhesion to different materials.
Advantages and Limitations
Screen printing offers unique benefits that make it a popular choice for many printing needs. However, it also comes with some challenges that may affect its suitability depending on the project requirements.
Benefits of Screen Printing
Screen printing works on many surfaces, such as fabric, paper, glass, and plastic. It uses relatively low-cost equipment, making it affordable for both small and medium print runs.
The process allows for thick and vibrant ink layers, which can produce strong, lasting colors. It can create glossy or matte finishes and is able to print on uneven or curved surfaces.
Screen printing is flexible with ink types, including oil-based, water-based, and specialty inks. Large-scale prints are possible, as frames up to 50” by 60” can handle big designs, especially on textiles.
Challenges and Considerations
Screen printing is not the best choice for very fine details or photographic images. It struggles with subtle color gradients and half-tones due to stencil and screen limitations.
The method is slower compared to digital printing, especially for long runs. Stencils wear out and need replacement after use, which adds maintenance time and cost.
It also requires skill to get consistent results. For very long production runs or highly detailed work, other printing methods might be more practical.
Frequently Asked Questions
Screen printing involves several clear steps and specific tools. It uses mesh screens and ink to transfer designs, and works well on many materials, especially fabric. Different methods and machines make the process more efficient. Learning proper techniques helps avoid common beginner problems. There are also important differences between screen printing and digital printing.
What are the basic steps involved in the screen printing process?
First, a stencil of the design is made and placed on a fine mesh screen. Ink is spread across the screen and pushed through the stencil with a squeegee. This transfers the design onto the printing surface. After printing, the ink is dried or cured to make the design last.
What materials do I need to start screen printing at home?
Basic materials include a mesh screen, stencil or film positive, squeegee, and ink designed for fabric or paper. A flat surface to print on and a way to cure the ink, like a heat source or dryer, are important. Beginners can find starter kits with these essentials.
How does a screen printing machine work?
A screen printing machine holds the mesh screen in place while ink is pushed through it. It allows for precise registration so multiple colors can line up correctly. The machine may include a conveyor or platen to hold the item being printed. This speeds up production and ensures consistent results.
Can you explain the screen printing technique for creating custom t-shirts?
A stencil is prepared for the t-shirt design and attached to a mesh screen. Ink is pushed through the screen stencil onto the fabric. Each color in the design requires its own screen. After printing, the shirts are heat-treated to cure the ink for durability.
What are the common challenges beginners face with screen printing, and how can they overcome them?
Beginners often struggle with proper stencil creation, ink bleeding, and alignment of colors. Using high-quality materials helps reduce issues. Practice and patience improve control during ink application. Following drying and curing instructions carefully ensures the print lasts.
What is the difference between digital printing and screen printing?
Digital printing directly applies ink onto the material using a printer, allowing for detailed images and fast changes. Screen printing uses stencils and screens, making it better for bold, solid colors and large runs. Screen printing generally produces thicker ink layers, which can last longer on fabric.